This very short tutorial briefly covers how to decimate a point cloud in CloudCompare and import it to Rhino with Grasshopper.
The purpose of this is to create a manageable version of the point cloud for work within the Rhino/Grasshopper ecosystem. Due to Grasshopper not natively supporting point clouds as a data type, although the use of the plugin Tarsier allows it, each point in the point cloud is stored separately in the memory, which makes working with large point clouds a sluggish and cumbersome endeavour. Therefore it is paramount to decimate the point cloud to a reasonable degree, before importing it with Grasshopper.
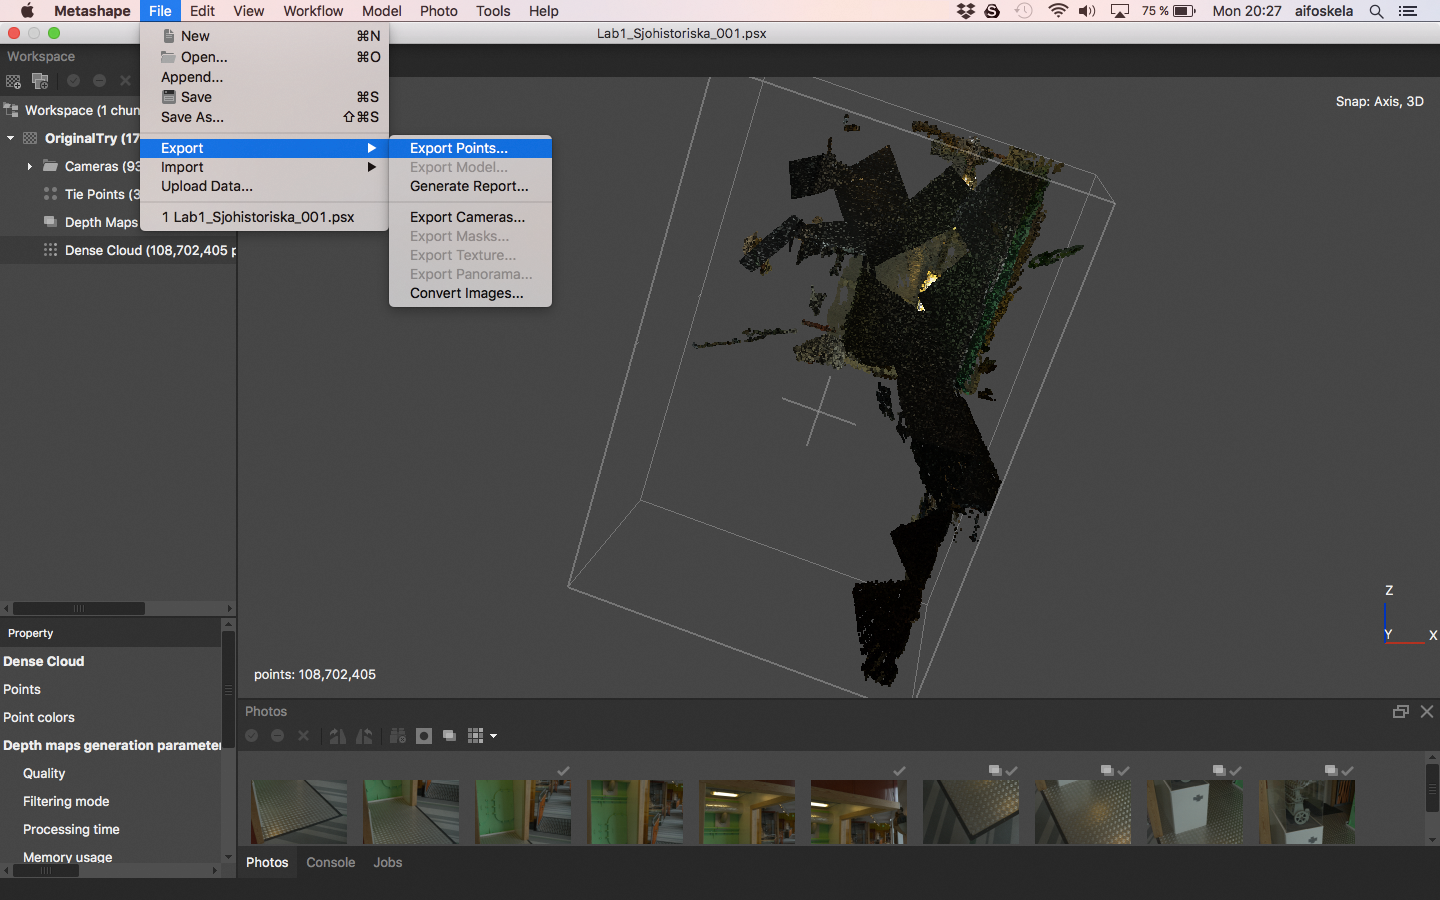
In Metashape, and with the dense point cloud active in view, maneuver to File\Export\Export Points...
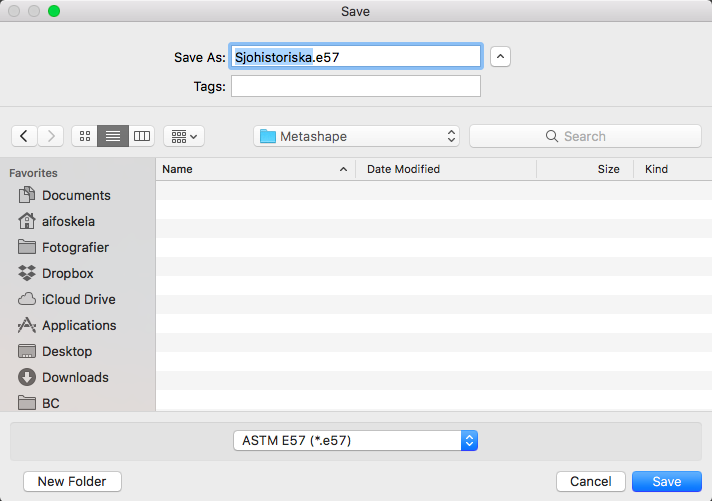
Export the point cloud as an ASTM E57 file (.e57). Other file formats should suffice as well, but an industry standard is hardly wrong to use.
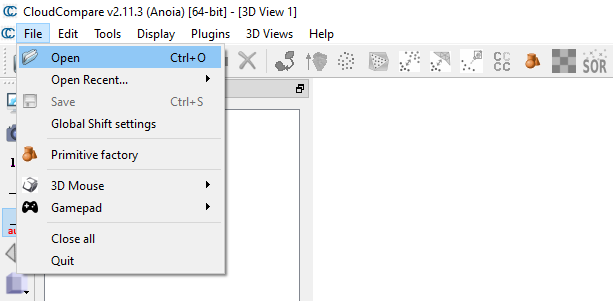
In CloudCompare, click File\Open (or CTRL+O) and select your exported point cloud file.
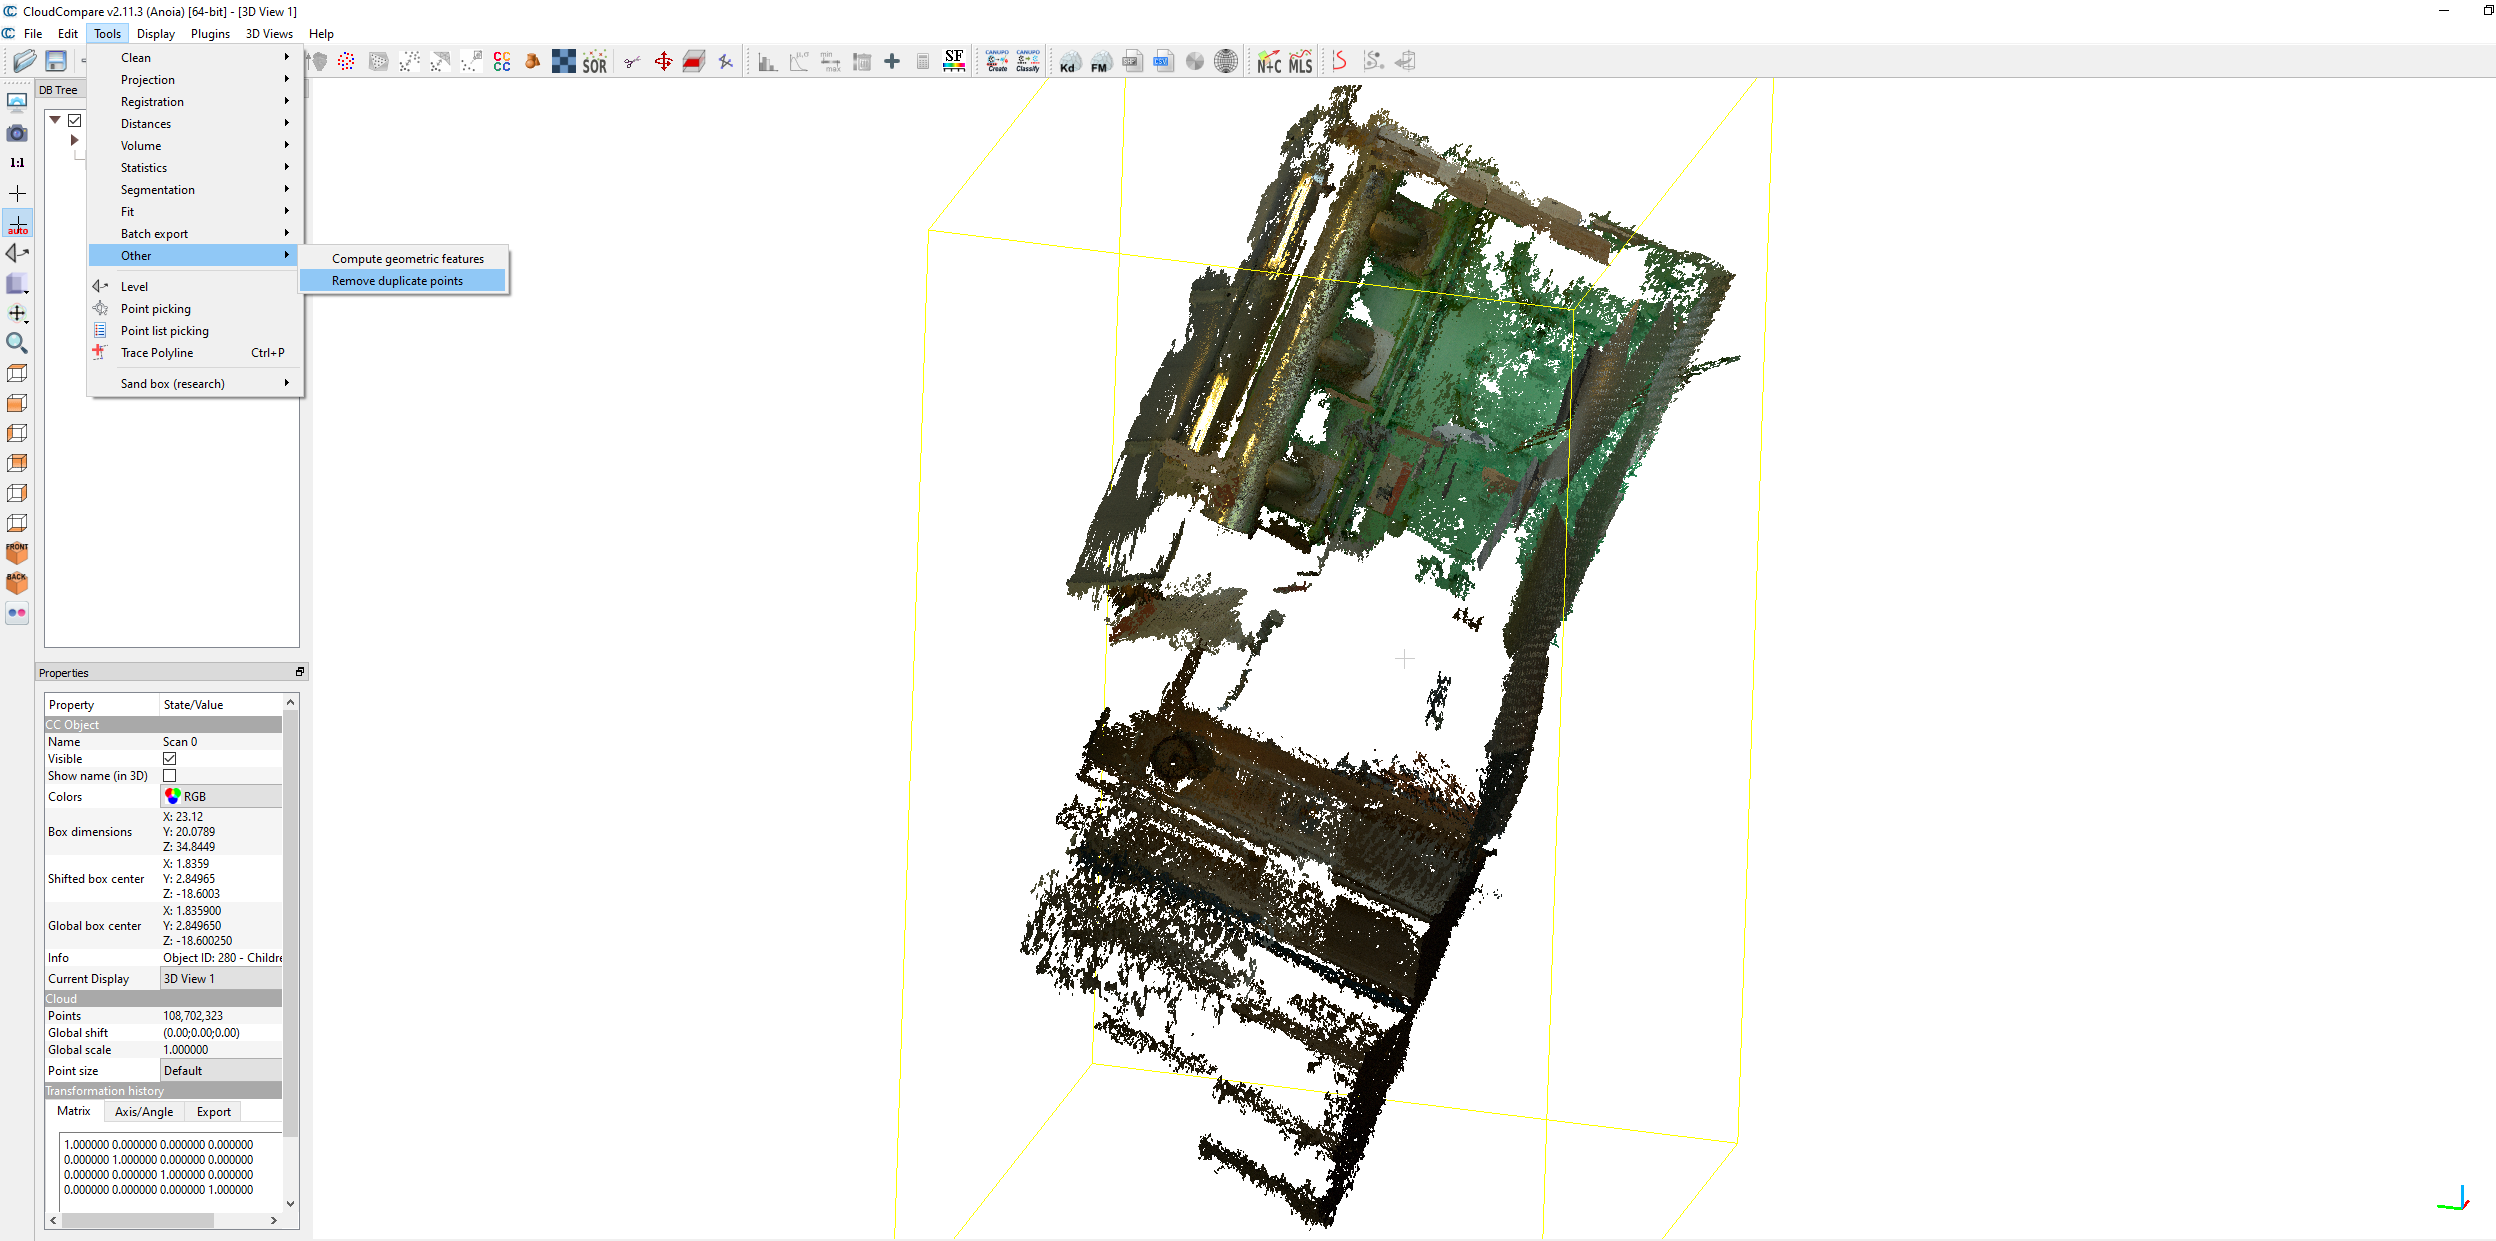
With the point cloud selected as active in the DB Tree, click Tools\Other\Remove duplicate points to decimate the point cloud. In the Properties pane below to the left, you can see in the Cloud section that the example point cloud originally consists of 108M points.
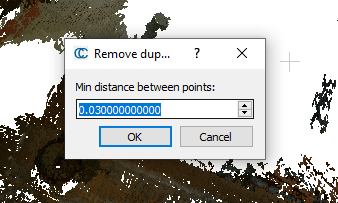
For the tolerance value, the optimum minimum distance between points to cull can vary depending on the scale of the point cloud and your intended degree of decimation. For us, a value of 0.03 was adequate for the example point cloud, but your mileage may vary. Experiment until you find the optimum value for you.
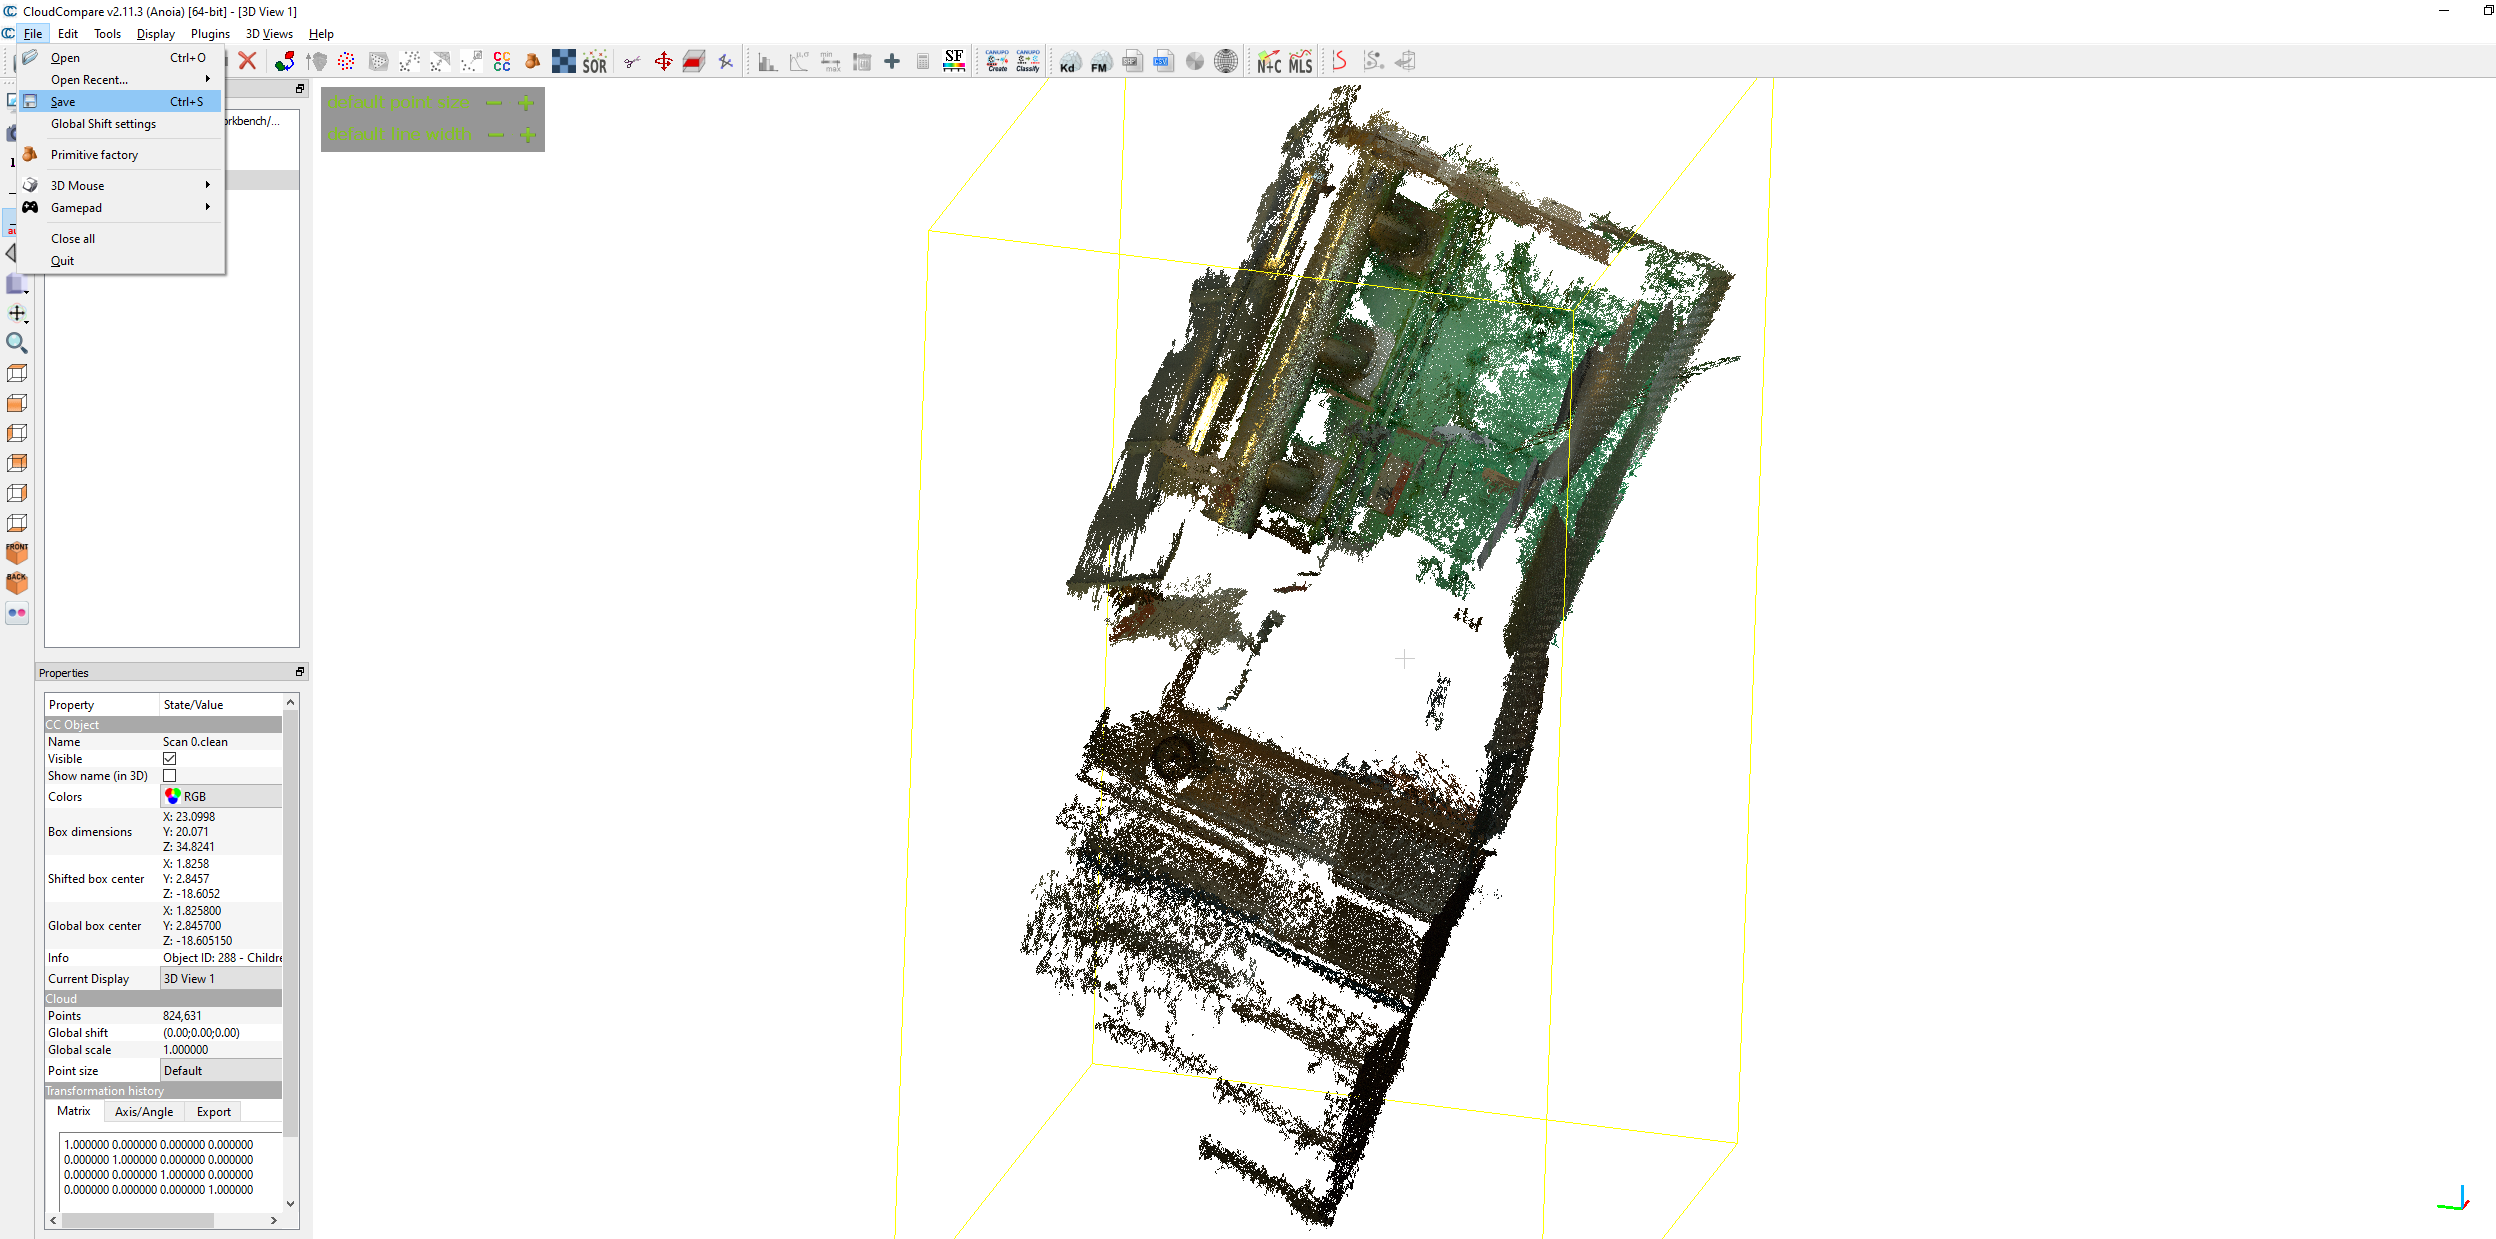
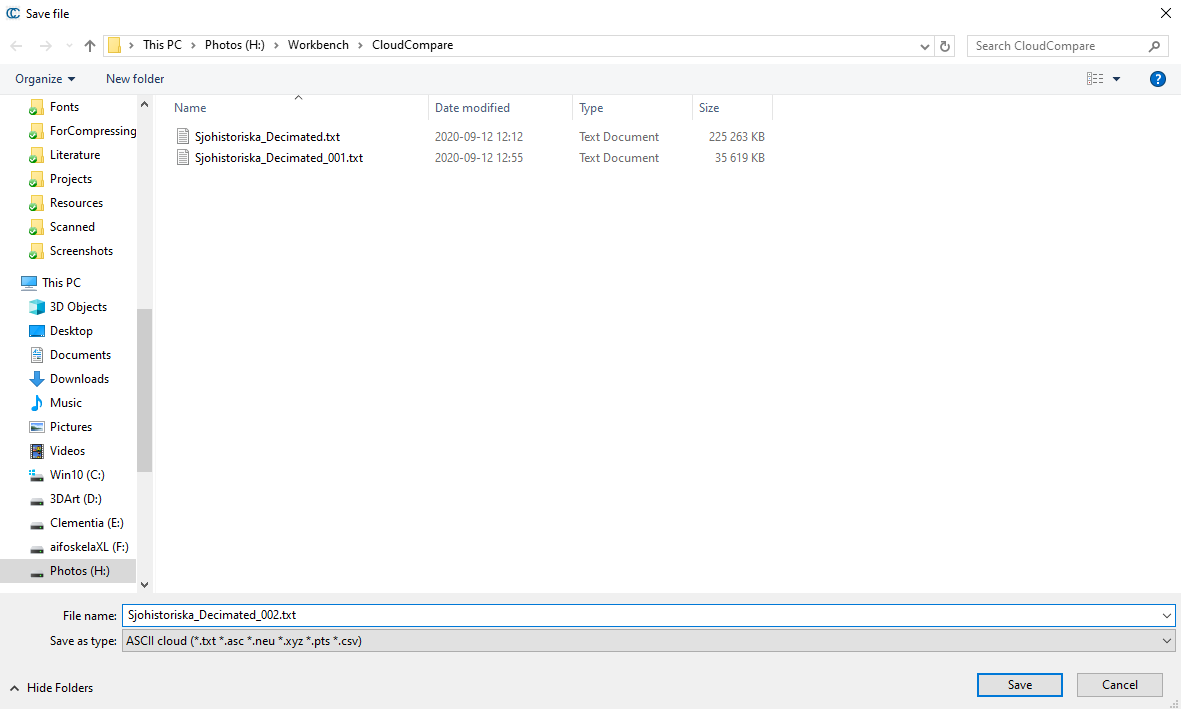
When the decimation is complete, a decimated copy will appear in the DB Tree and be selected as active. Verify the amount of points in Properties pane. For this example point cloud with 0.03 as tolerance, 108M points were reduced to 824K points (less than 0.8 percent of original amount). Click File\Save (or CTRL+S) to save this decimated point cloud as a new file.
Save the point cloud as an ASCII cloud file (.txt).
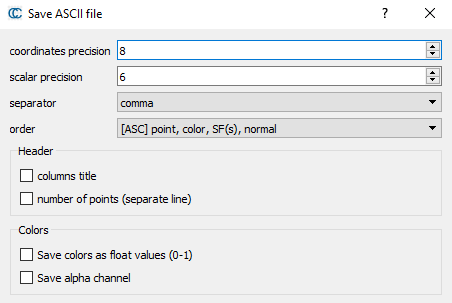
For the export settings, change the Separator value to Comma and leave the rest of the settings at their default value.
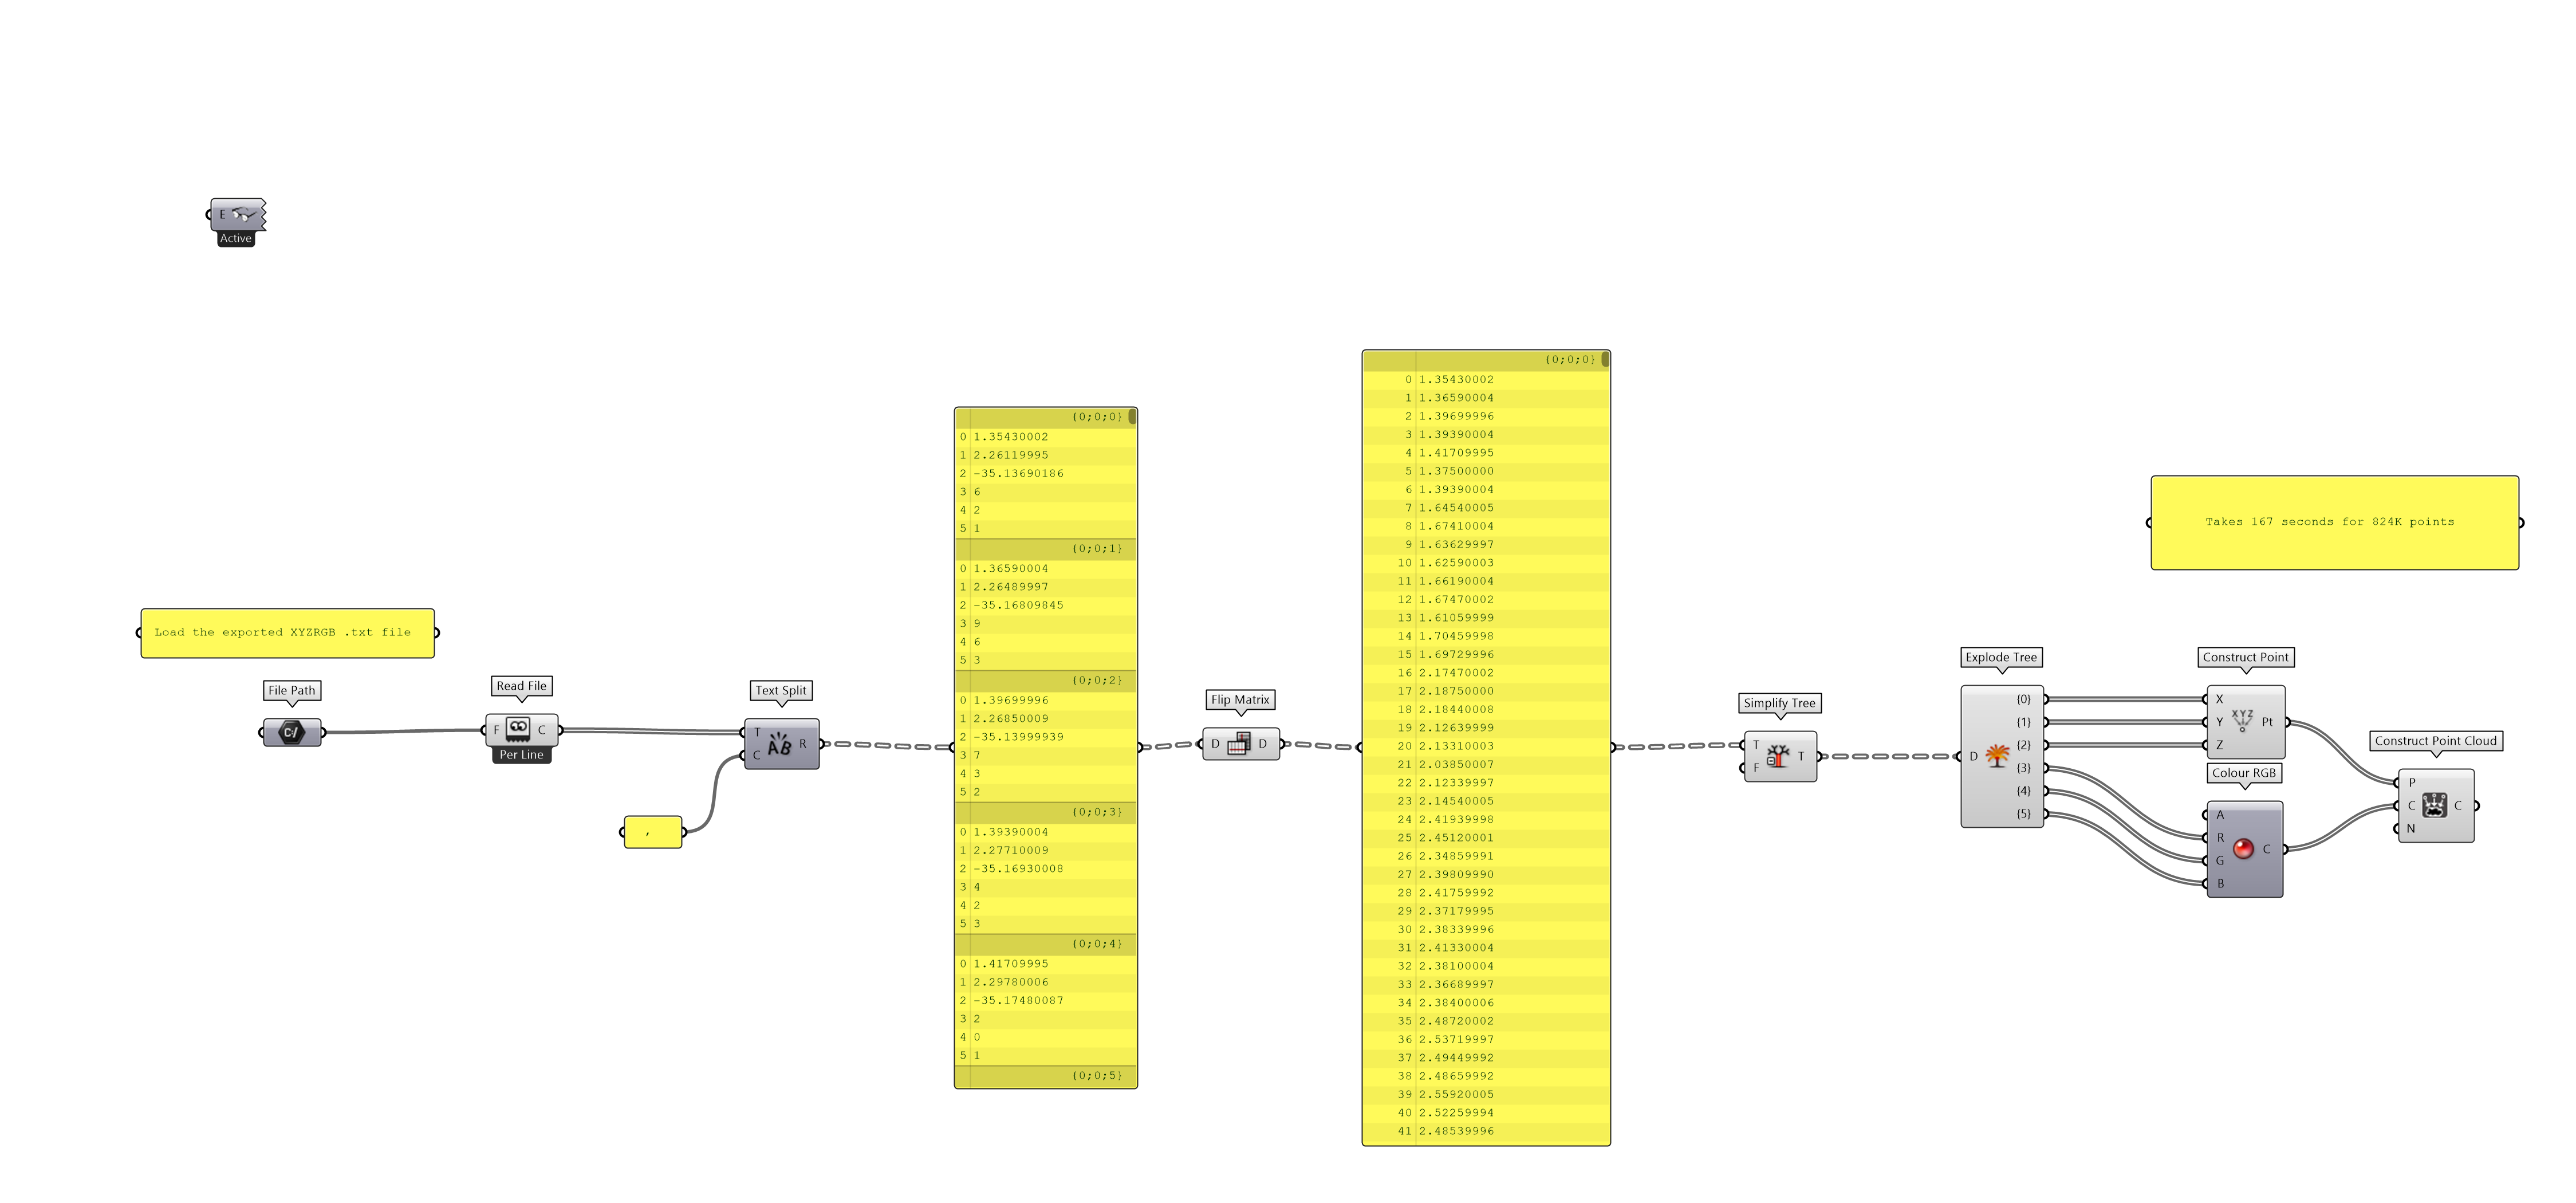
In Grasshopper, replicate the above definition (RMB-click and Open image in new tab to see full resolution, or download the GH 1.0 file here) and load the exported .txt file to the File Path node (RMB\Select one existing file). You may then bake out the imported point cloud by RMB-clicking on the output of the Tarsier node Construct Point Cloud. If you have not installed the Tarsier yet, please download the plugin here.
Since the computation takes so long (as per per-point memory storage limitations noted above), it is important when replicating the definition to temporarily Solution\Disable Solver, so as not to stare blankly at the screen for a couple of minutes for each instance of node wrangling (or alternatively to initially have the File Path and Read File nodes disconnected, and connect them as a final step).
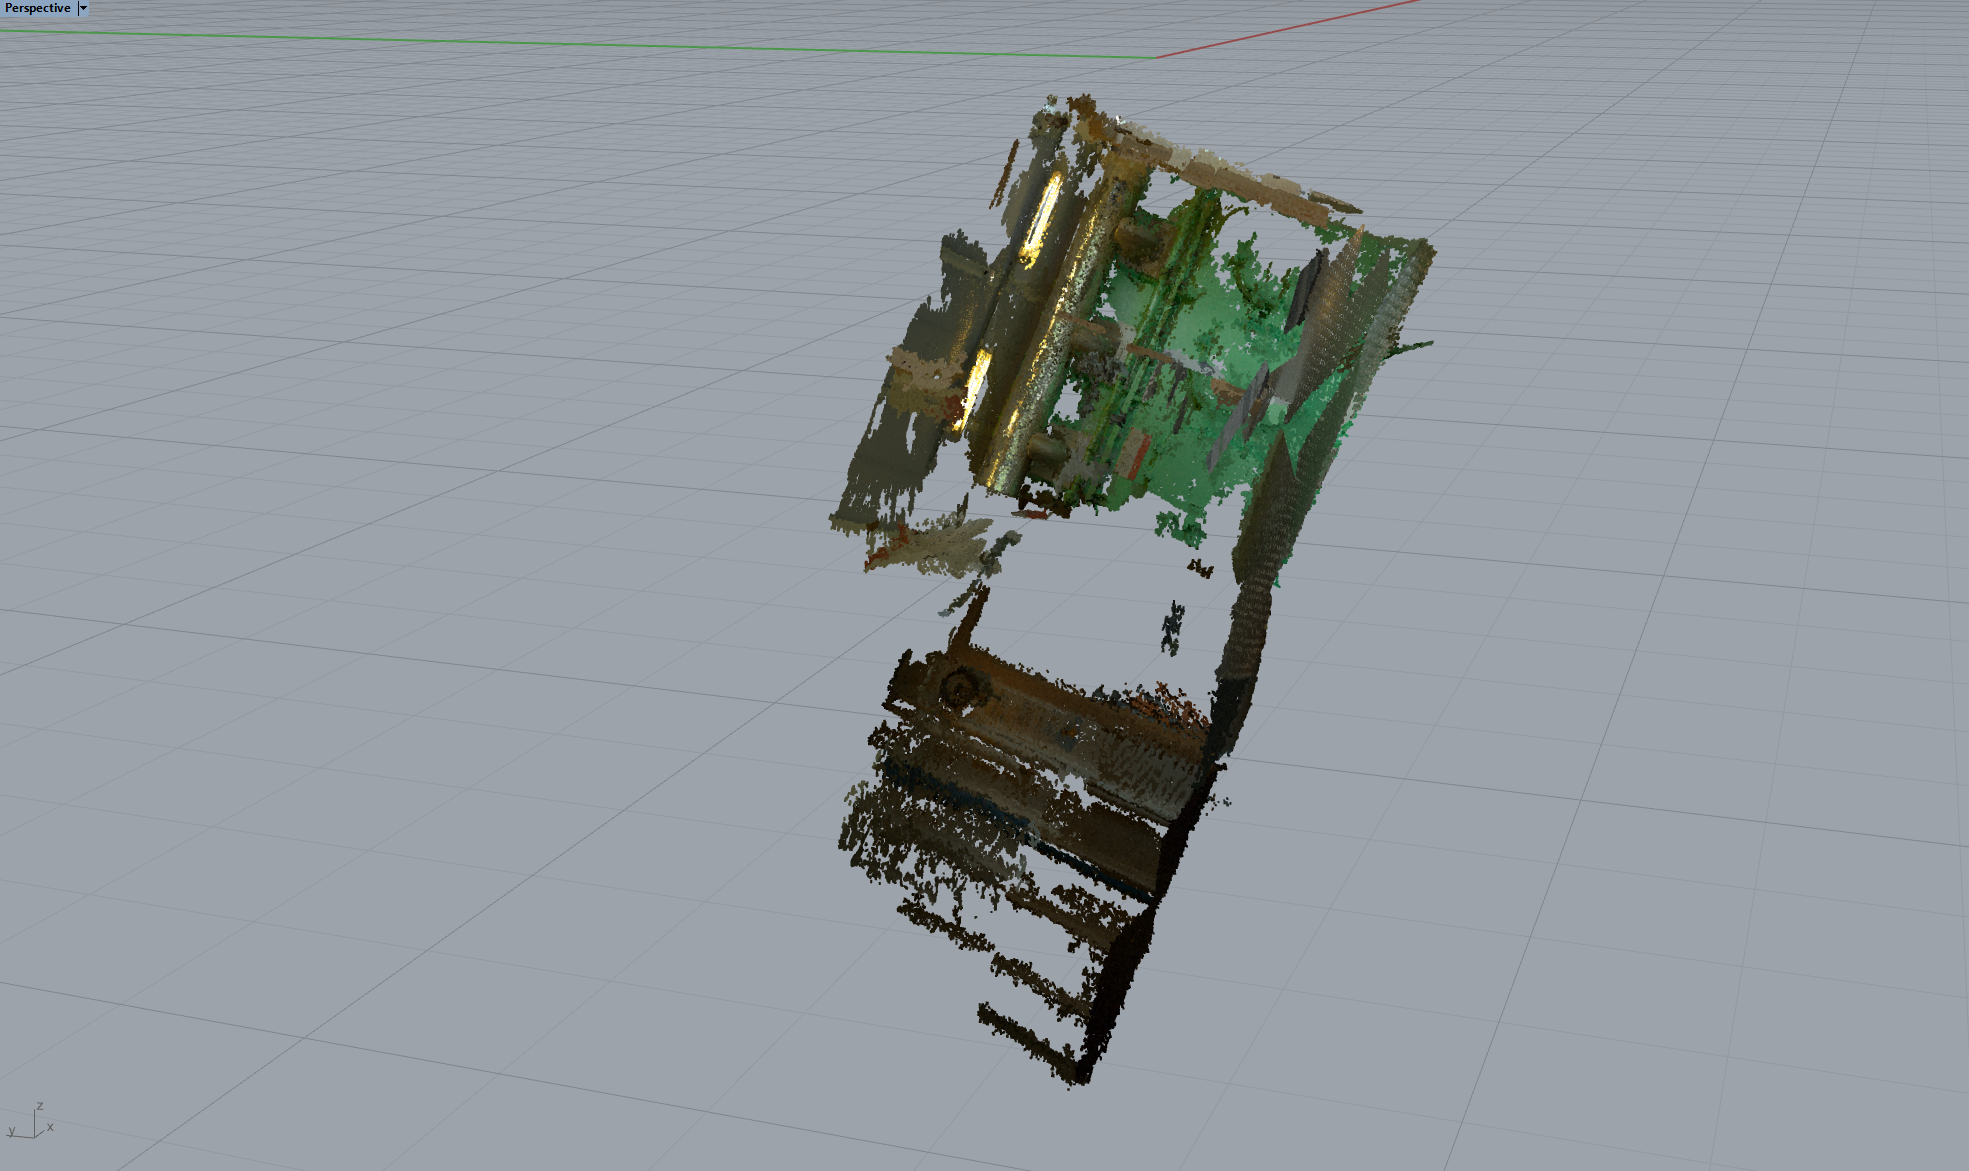
The point cloud is imported into Rhino with Grasshopper with the same orientation and scale as in Metashape. Now you may rotate and scale the point cloud accordingly (but remember to take note of the values for said manipulations, should you want to do the same to the camera locations, if imported per previous tutorial).
If you encounter any issues, please write a comment below, and we will do our best to solve the problem.
If you would like to return to the overview of our tutorials, please click here.
