This short tutorial aims to show how easy it is to install new fonts in Windows as well as macOS. The example font used is the aifosDesign font aifosHandwriting, but the procedure shown also applies to other fonts, naturally.
The procedure is first depicted in a Windows environment – if you use macOS and want to jump straight to business, please click here.
The following example is shown in Windows 10, but the method should be directly translatable for users of all modern Windows operative systems.
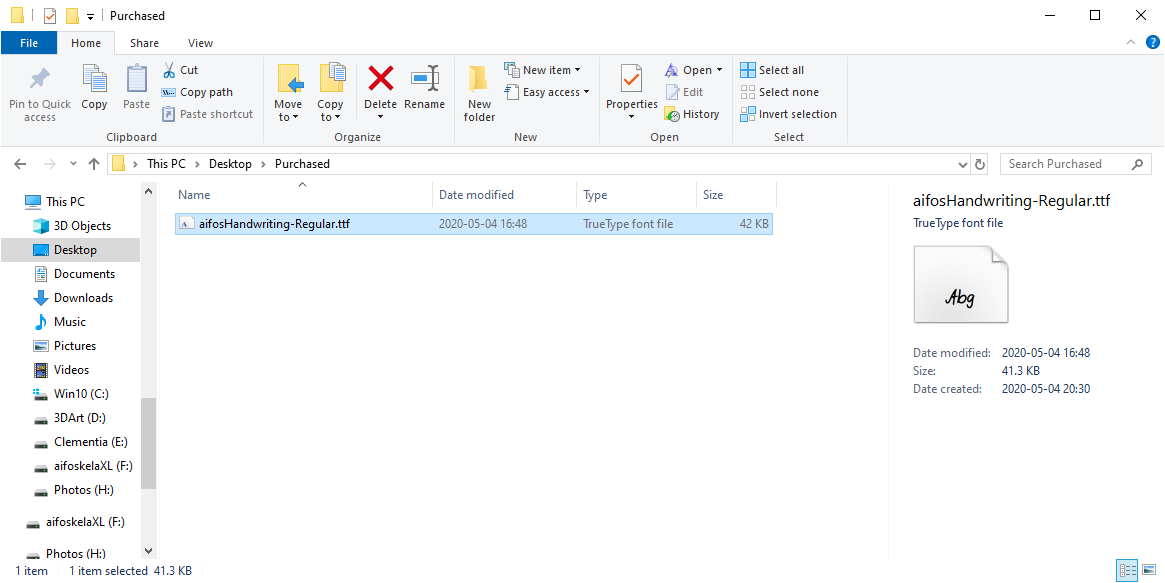
Navigate to the procured font file of your choice. For font families of more than one style, each individual font file should be installed separately.
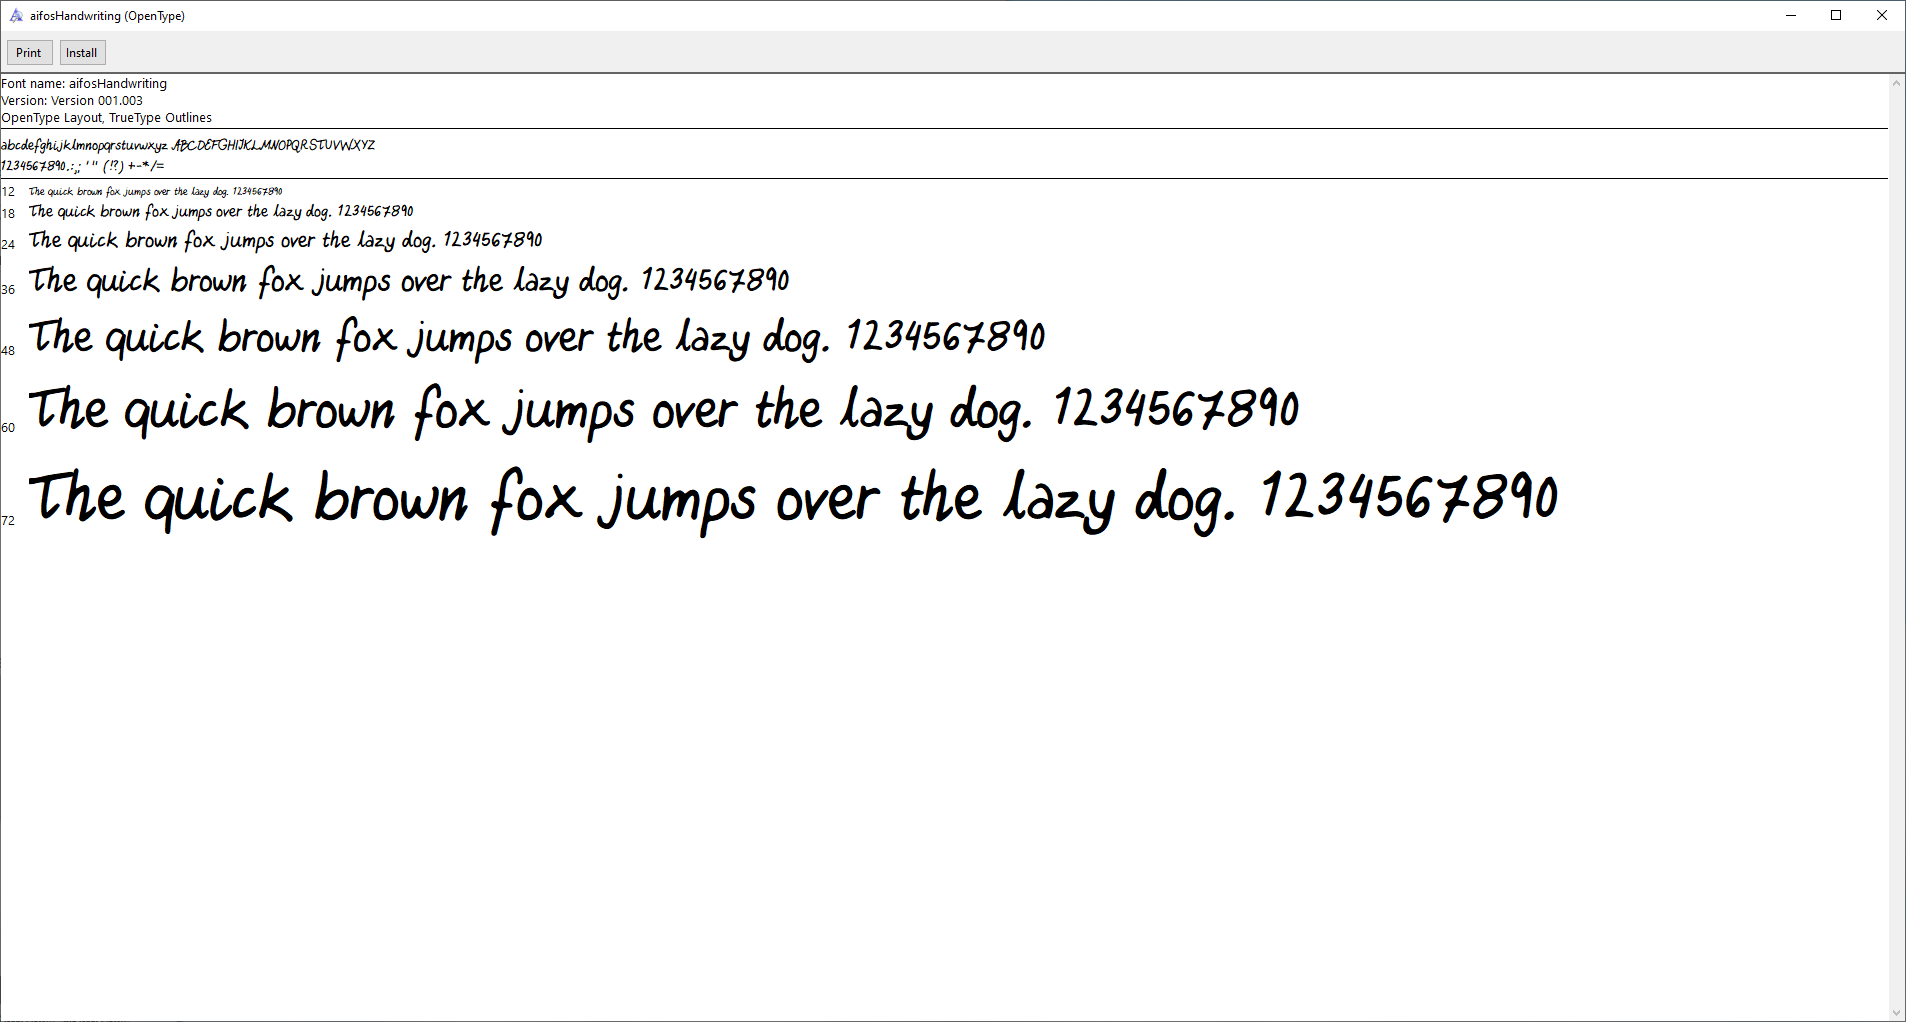
Double-click the font file to open the installation window.
Click Install to install the font.
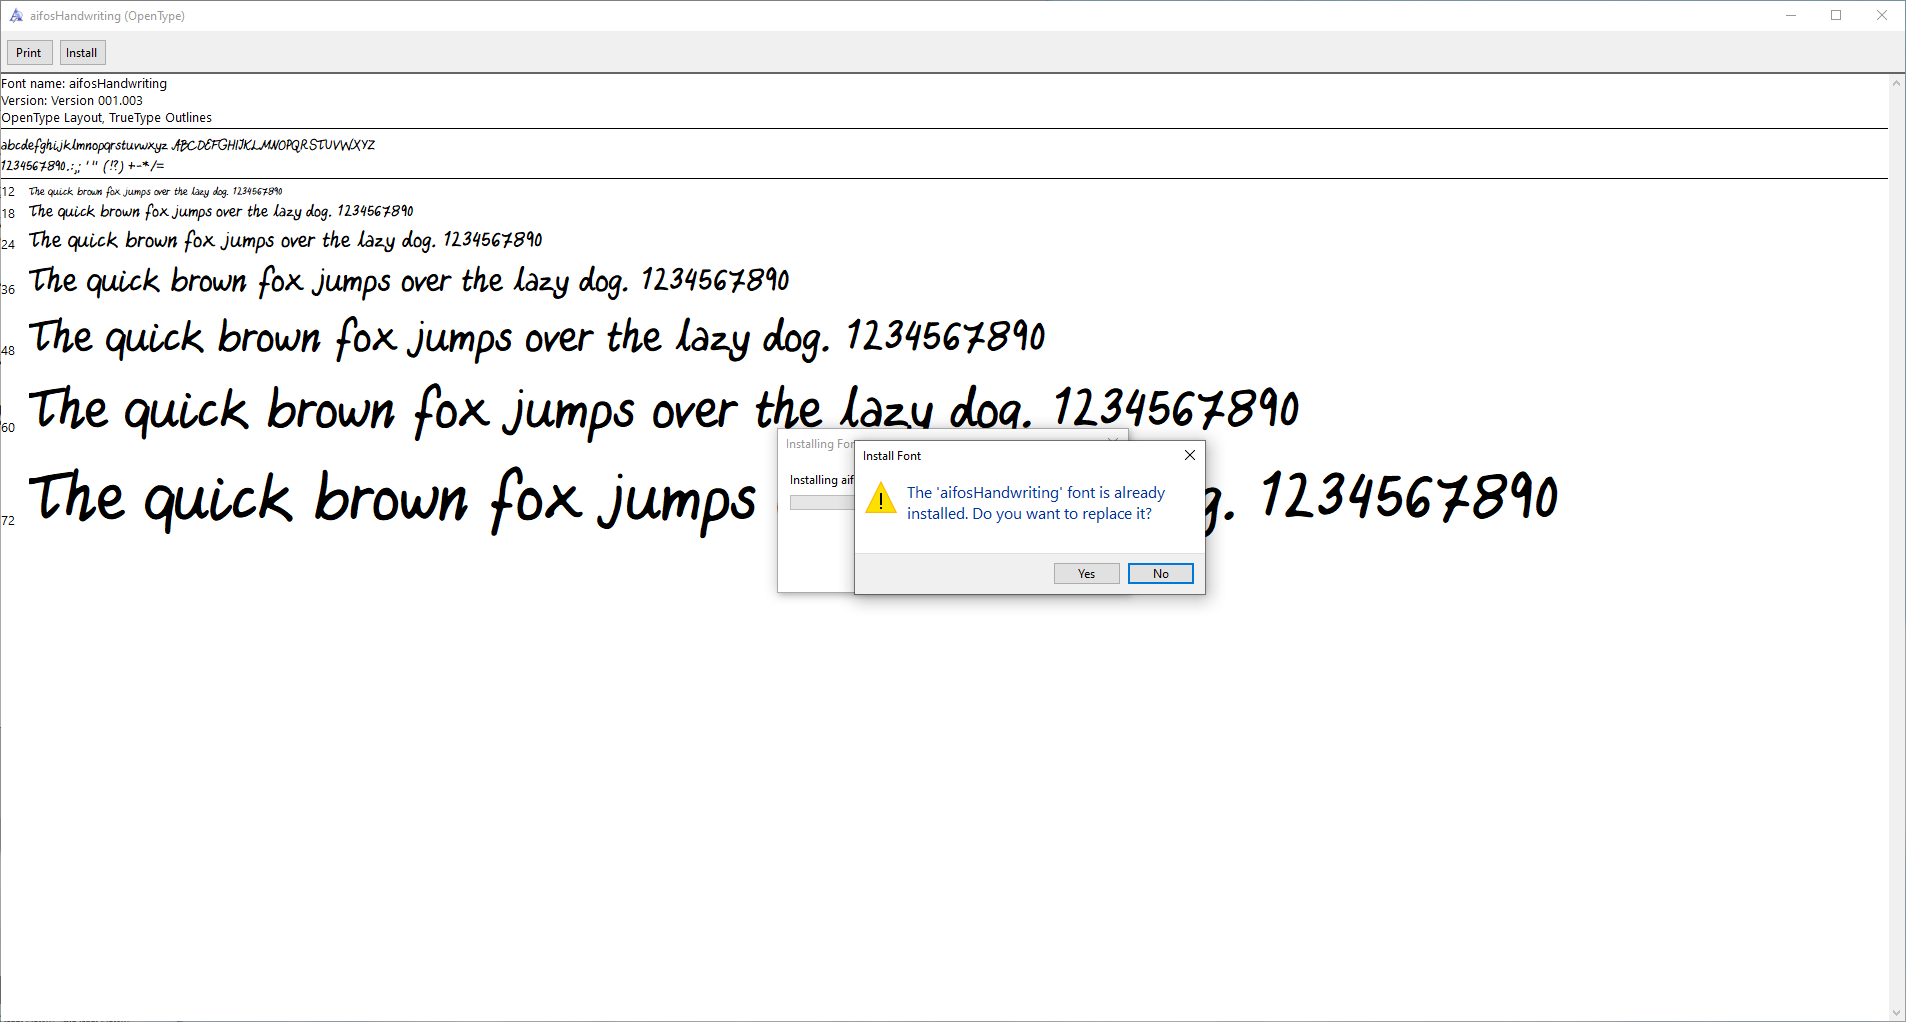
If an earlier version of the font is found, click Yes when asked if you want to replace the given font, presuming the font file you want to install is a relevant update.
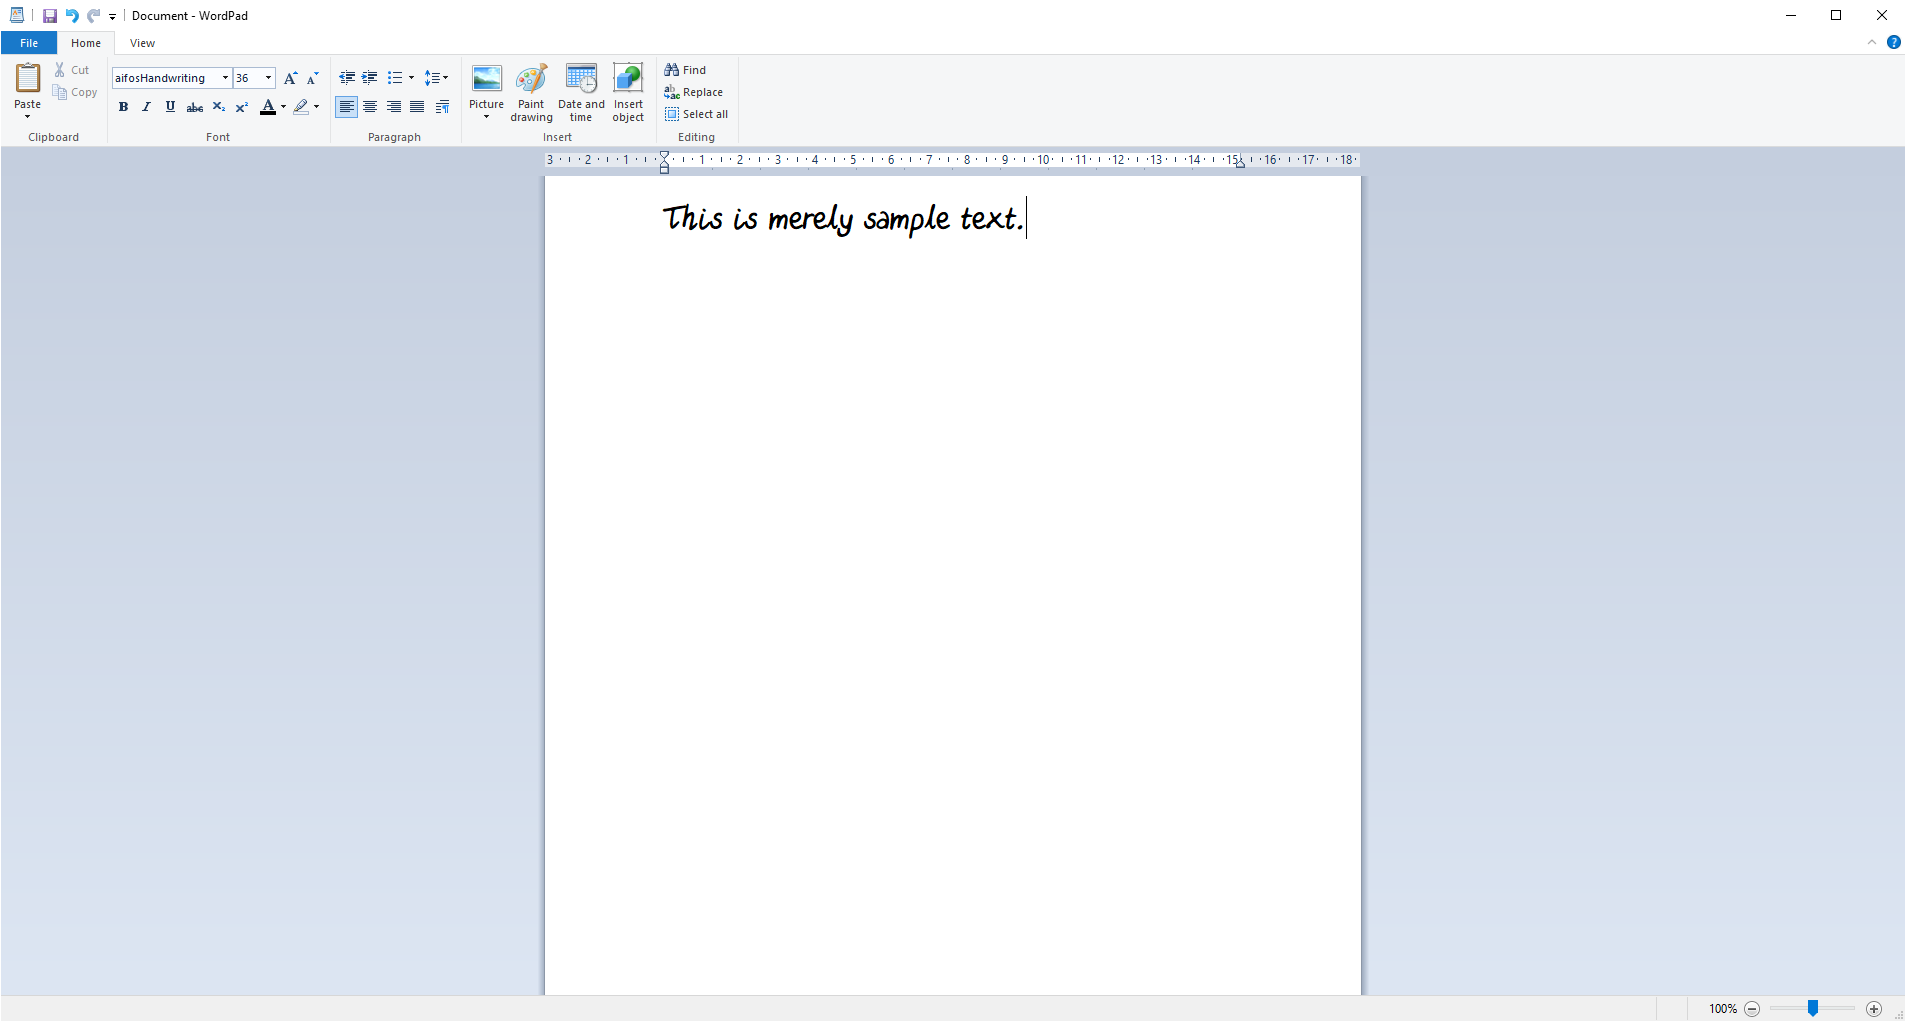
Now the font is installed and registered, and should be visible as a selectable font alternative in all font-enabled word processing programs. Simply start the word processor of your choice and pick your freshly installed font.
If the word processing program was active in the background while you were installing the font, the program might need to be restarted to reflect the change in installed fonts.
The installation window may be closed, and if the font family includes more styles, you may repeat the procedure to install these as well.
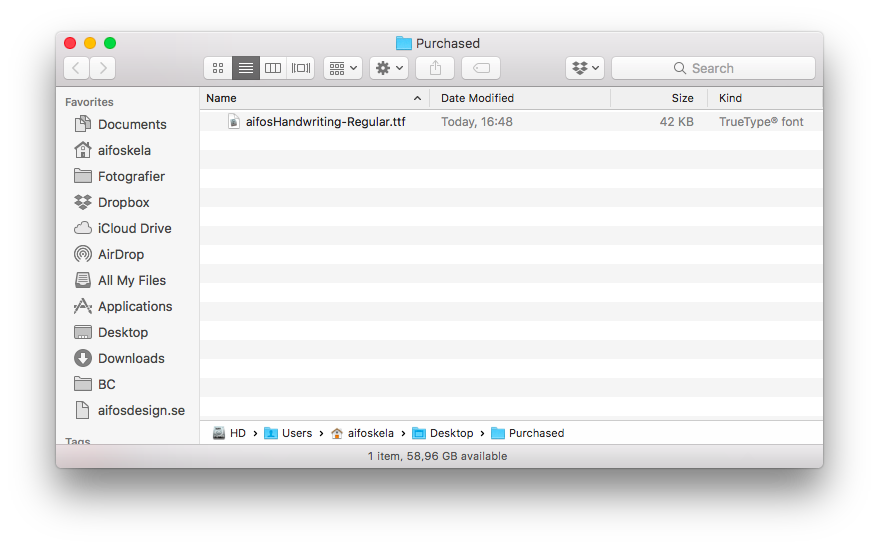
Navigate to the procured font file of your choice. For font families of more than one style, each individual font file should be installed separately.
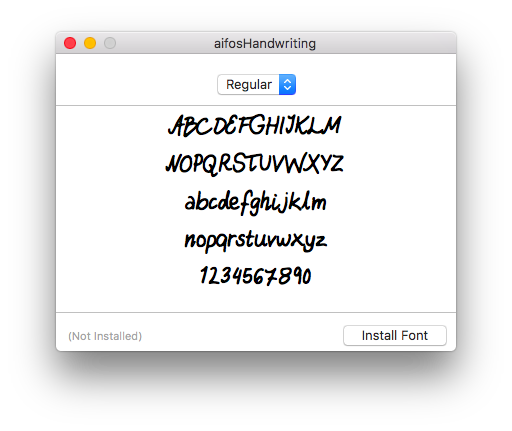
Double-click the font file to open the installation window.
Click Install Font to install the font.
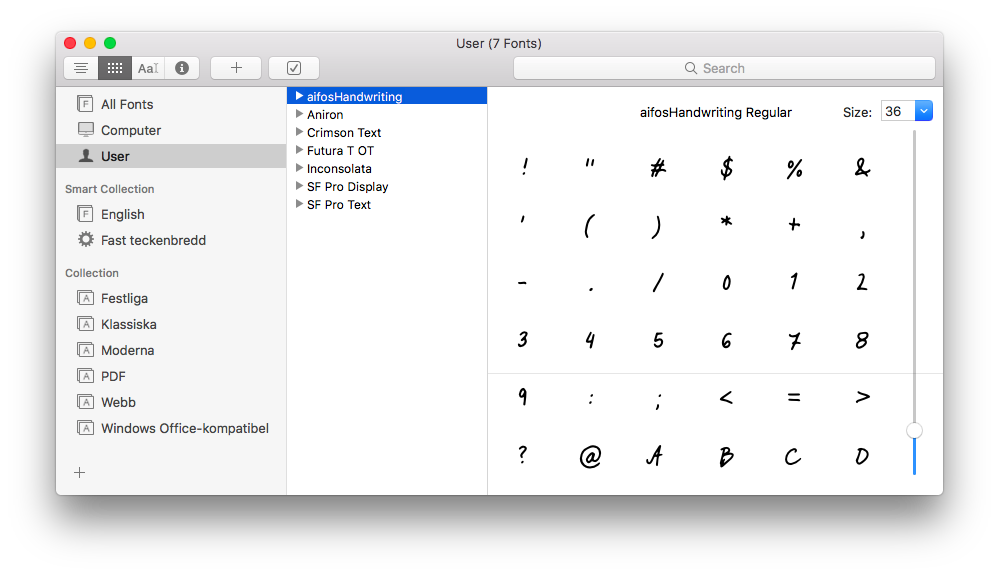
In the Font Book window the font should be registered under the User installed category. If the font is not found, please quit the program and start Font Book afresh. This should make sure that the list of installed fonts is updated.
If an earlier version of the font is already installed, the validation preceding installation should notify you about this. If this is the case, close the validation window to cancel the installation, and find the installed version of the font in Font Book.
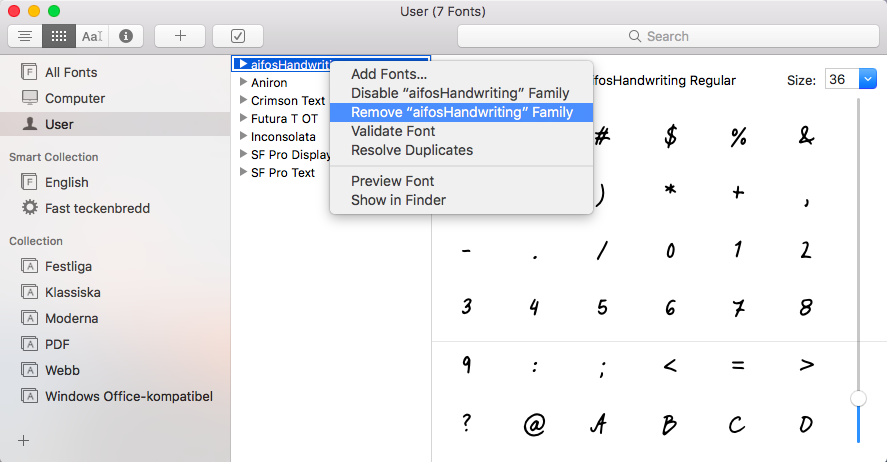
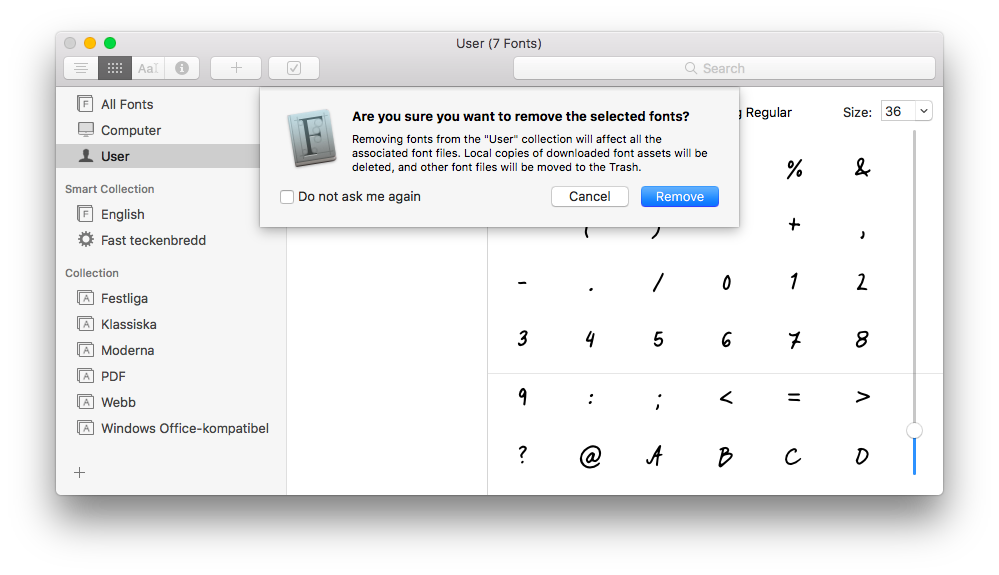
Right-click on the font in Font Book, and select Remove "FontFamilyName" Family.
Confirm by clicking Remove.
Should the font be lingering in the list of installed fonts nonetheless, restart Font Book to force the list to update.
When the earlier version of the font is uninstalled, the new version can be installed per previous instruction, without risking complications of duplicate font instances.
Now the font is installed and registered, and should be visible as a selectable font alternative in all font-enabled word processing programs. Simply start the word processor of your choice and pick your freshly installed font.
If the word processing program was active in the background while you were installing the font, the program might need to be restarted to reflect the change in installed fonts.
Font Book may be closed, and if the font family includes more styles, you may repeat the procedure to install these as well.
If you encounter any issues, please write a comment below, and we will do our best to solve the problem.
Recommended tutorials to continue with:
Placeholder Tutorial
If you would like to return to the overview of our tutorials, please click here.
